Last Updated: November 5, 2026
Quick Summary
To restore a pressed metal ceiling, assess each panel for rust, dents, cracks and loose fixings, then strip rust to bare metal, repair damage with filler or epoxy putty, and prime bare spots with a metal-gripping primer. Finish with two thin coats of low-sheen ceiling paint, and re-secure loose panels with galvanised screws and washers or adhesive propped until fully cured.
- Work panel by panel with a torch and notepad, recording rust, dents, cracks and loose panels.
- Confirm the ceiling build before buying fixings, since screws suit timber joists but not plasterboard alone.
- Wire-brush rust to bare metal with light pressure so thin panels are not stretched or distorted.
- Apply two thin finish coats, because heavy paint fills the pattern and kills crisp shadow lines.
- Keep props in place for the adhesive's full curing time, typically overnight and longer in cold conditions.
Table of Contents
- What a Pressed Metal Ceiling Restoration Involves
- Pressed Metal Ceiling Restoration Tools and Materials
- How to Remove Rust From Pressed Metal Ceiling Panels
- Pressed Metal Ceiling Repair: Dents, Cracks and Loose Panels
- How to Paint a Pressed Metal Ceiling
- Working Safely Around Wiring and Light Fittings
- Curing, Support and Preventing Future Failures
- Sourcing Period-Accurate Panels and Fittings for Your Ceiling
- Frequently Asked Questions
What a Pressed Metal Ceiling Restoration Involves
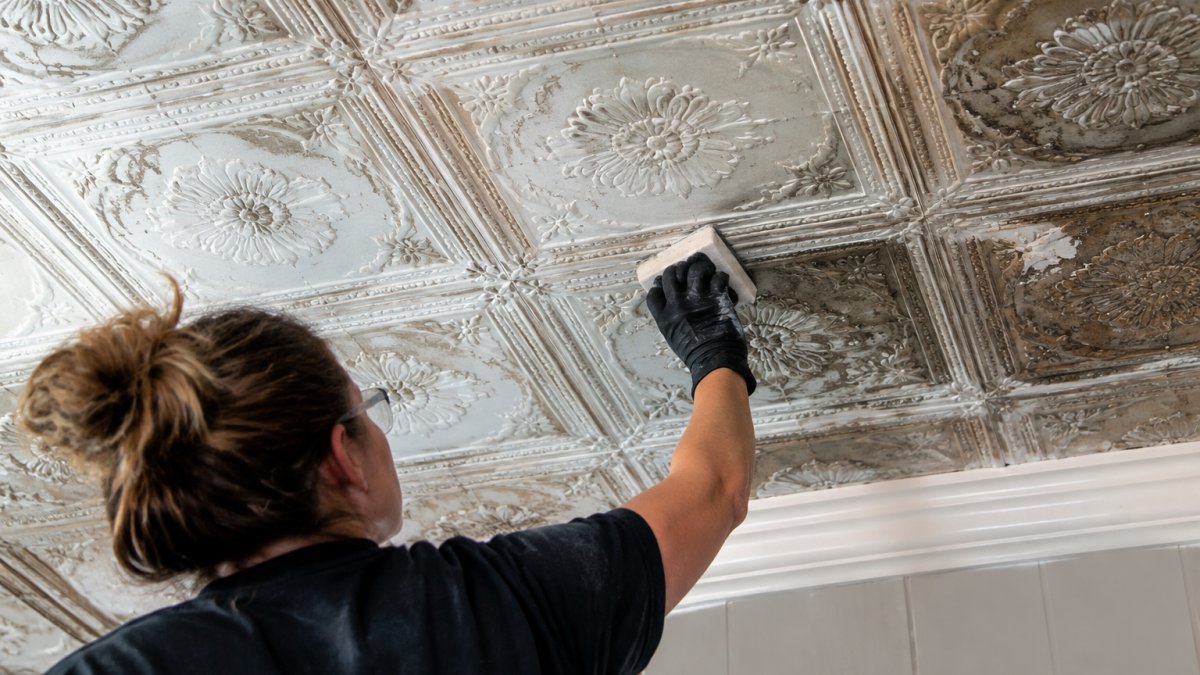
Pressed metal ceiling restoration brings tired, rusted or damaged decorative metal panels back to a sound, painted finish while keeping the original pattern.
The ceiling is usually thin stamped steel or tinplate, pressed into repeating patterns and fixed to timber joists or battens.
One point most guides skate over: the panels are thin. A pressed metal ceiling dents if you lean on it, and it flexes under a ladder.
Assessing the Panels Before You Start
Start with a torch and a notepad. Work panel by panel and record what you find.
- Rust: surface bloom versus deep pitting that has eaten through the metal
- Dents: shallow pushes versus creased folds
- Cracks: hairline splits along the pattern edges
Anything that has rusted right through, or snapped along a fold, is a replacement candidate. Everything else is repairable.
Heritage Council of Victoria guidance on caring for historic interiors
Pressed Metal Ceiling Restoration Tools and Materials
The kit for pressed metal ceiling restoration is modest, but the fixing hardware depends on what the ceiling is built from and how heavy the panel is.
Tools:
- Stepladder or low scaffold tower (a tower is safer for overhead work across a whole room)
- Measuring tape, pencil and chalk line
- Drill with a wire brush attachment and a screwdriver bit
Materials:
- Rust converter
- Metal filler or epoxy putty
- Drop sheets These materials help stabilise and refinish the ceiling panels, while the same care used in cleaning rusty metal can preserve the finish of other metalwork.
Buy the primer before you buy the paint. A metal ceiling needs a primer that grips bare steel, and a standard wall undercoat will not do the job.
Matching Fixings to the Ceiling Build
The fixing method depends on the ceiling build. Work out what is above the panels before buying hardware.
- Timber joists or battens: the traditional case. Galvanised screws through the existing fixing points into the timber give a mechanical hold that does not rely on adhesive. Use washers under every head so thin metal cannot pull through.
- Plasterboard sheeting: screws alone will not hold a heavy panel reliably because plasterboard has limited pull-out strength. Bed the panel in panel adhesive and use plasterboard anchors or toggle fixings only where they land on a stud or joist. Adhesive does most of the work; the fixings stop it sliding while it sets.
- Lath-and-plaster: the most fragile case. The plaster keys behind the lath crack easily, so avoid drilling new holes wherever possible. Re-use existing fixing points, bed with adhesive, and prop the panel rather than over-tightening screws into crumbling plaster.
Adhesive alone suits small, light panels on a sound substrate but is insufficient for large or heavy panels, ceilings that flex, or ceilings above a wet area.
Watch out: buying screws before you know the substrate is the most common waste of money on these jobs. Confirm the ceiling build first.
How to Remove Rust From Pressed Metal Ceiling Panels
Rust removal decides whether the paint lasts. Skip it and rust pushes through a fresh coat within a season.
Work in this order:
- Scrape loose paint back to a firm edge with a scraper.
- Wire-brush the rust down to bare metal. Use the drill attachment on flat runs and a hand brush in the pattern recesses.
- Sand the edges of remaining paint so they feather into the metal.
- Apply rust converter to any staining that will not brush out. Leave it to cure as the label directs.
- Wipe down with a clean cloth to remove dust before priming.
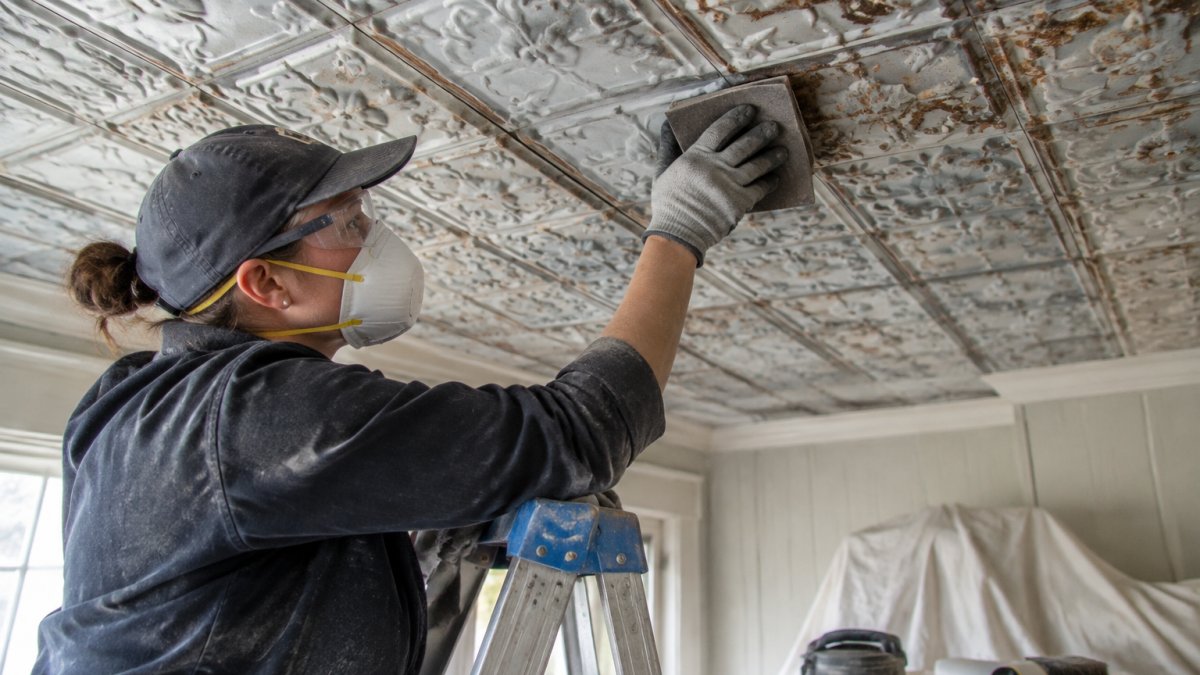
Watch out: brushing too hard with a coarse wire wheel can stretch thin panels and distort the pattern. Use light pressure.
Treating Pitted and Flaking Areas
Pitting is where the metal has started to break down in small pockets. Clean each pit out fully, then fill it.
- Clean: wire-brush and blow out the dust
- Convert: apply rust converter and let it dry
- Fill: press metal filler into the pit with a flexible blade
Feather flaking paint around the repair back at least a few centimetres so new coats sit on sound ground.
Pressed Metal Ceiling Repair: Dents, Cracks and Loose Panels
Pressed metal ceiling repair splits into three jobs, each with a different fix.
Dents. Shallow dents can often be pressed out from below with a soft block.
Cracks. Clean the crack, open it slightly, then fill with epoxy putty.
Loose panels. These rattle or drop slightly at the edges.
Do not over-tighten screws. Thin metal will pull straight through the hole.
When a Panel Needs Replacing
Replace rather than repair when:
- Rust has eaten through the panel face
- The pattern has snapped along a fold line
- The panel is so distorted it will not sit flat
Match the pattern, panel size and depth as closely as you can. A near-match reads better than a forced fit.
Australian Building Codes Board on renovation work in existing buildings
How to Paint a Pressed Metal Ceiling
Painting is where the ceiling comes back to life, and the method matters more than the brand on the tin.
- Prime bare metal with a metal-gripping primer, covering every sanded and filled spot.
- Spot-prime repairs a second time if the filler soaked up the first coat.
- Cut in around the edges with a brush, working paint into the pattern.
- Roll the flat runs with a short-nap roller; a thick pile spatters into the recesses.
- Brush the pattern detail so paint reaches the low points evenly.
- Apply two finish coats, letting each dry fully.
Thin coats beat thick ones. Heavy paint fills the pattern and kills the crisp shadow lines that make a pressed metal ceiling worth restoring.
Working Safely Around Wiring and Light Fittings
The light point is the one part of the job you should not touch yourself. Wiring in an older ceiling may be old, brittle or not earthed, and any work on it is licensed work.
- Isolate the circuit at the switchboard before you go near the ceiling
- Book a licensed electrician to disconnect, reposition or reconnect the light fitting
- Keep water and paint well away from exposed wiring
Plan the electrician's visit around your painting: disconnect before you start, reconnect once the paint is cured.
Safe Work Australia guidance on electrical safety
Curing, Support and Preventing Future Failures
Adhesive and filler need time, and rushing this stage is the most common cause of a panel dropping months later.
Temporary Support That Actually Works
A prop is only useful if it holds the panel flat against the ceiling without marking the pattern.
- Use a timber brace cut to a snug fit between floor and ceiling, with a soft pad (cork, dense foam or folded cloth) against the panel face so the pattern is not crushed.
- Prop at the centre and at least two edges of a large panel so it cannot rock while the adhesive cures.
- Keep the prop in place for the full curing time on the adhesive label, typically overnight, longer in cold or humid conditions. Read the tin.
Watch out: propping a panel too tightly can bow it away from the ceiling at the edges, so the adhesive bonds only at the centre. Aim for firm, even contact.
What 'Cured' Really Means
Adhesive that feels dry at the edges is not necessarily cured through the middle. A thick bead behind a panel skins over first and stays soft underneath for much longer. Two practical checks:
- Smell and tack: a strong solvent smell or any tackiness at the joint means it is still curing.
- Movement test: press gently upward at the panel edge. Any give or clicking means the bond is not yet sound.
Keep the room dry and avoid heavy steam or heat during curing. Do not paint over fresh adhesive until it has cured, or trapped solvent can blister the finish.
Preventing Future Failures
Long-term, the enemies are moisture and movement. Fix any roof or plumbing leak above the ceiling first, and ventilate kitchens and bathrooms so condensation does not sit on cold metal.
| Problem | Likely Cause | Fix |
|---|---|---|
| Rust returning after paint | Moisture from above or condensation | Trace and fix the leak; improve ventilation |
| Panel dropping at one edge | Failed adhesive, lost fixing, or prop removed too early | Re-bed, re-fix and prop for the full cure time |
| Pattern looks soft under paint | Too many thick coats | Strip back and repaint in thin coats |
| Cracks reappearing | Movement in the structure or joists | Investigate joists and battens before re-filling |
| Gaps opening at panel joints | Seasonal movement or inadequate fixing | Re-secure with washers and flexible filler |
Troubleshooting Uneven Ceilings and Damaged Panels
Older ceilings are rarely flat, and a replacement panel cut to a true line will show every dip.
- Uneven ceiling: dry-fit the panel first and mark where it sits proud. Pack behind it with a thin shim or build up the adhesive bed rather than forcing the panel flat and stressing the fixings.
- Cracked or damaged panel: clean the crack, open it slightly, fill with epoxy putty and sand flush once set. If the crack runs along a fold, it will likely reopen, consider replacement.
- Poor adhesion: remove the panel, scrape back the old adhesive completely, and re-bed on a clean, dust-free surface. Adhesive will not grip over old failed bond.
Sourcing Period-Accurate Panels and Fittings for Your Ceiling
Matching the pattern is the hardest part of a pressed metal ceiling restoration and where most projects stall.
Bring a rubbing or a clear photo of your pattern when you enquire, and note the panel dimensions and press depth.
Best for: owners who want the pattern to match, not just the look.
Restoring a pressed metal ceiling rewards patience. Get the rust out properly, repair before you paint, and give adhesive the time it needs.
If you are stuck on pattern matching or need period-accurate fittings to finish the job, our team can help. Restoration Station offers expert advice on restoration projects and a broad range of traditional architectural hardware.
Frequently Asked Questions
Can you paint over a pressed metal ceiling without removing it?
Yes, in most cases you can paint a pressed metal ceiling in place. Clean the panels first with a sugar soap solution, then sand lightly to dull the surface. Treat any rust with a rust converter and spot-prime bare patches. Apply a stain-blocking primer, then two coats of a quality ceiling paint in a low-sheen finish. Painting in place avoids disturbing the fixings, but check that no panels are loose or sagging before you start.
How do you repair a dented pressed metal ceiling panel?
Small dents can often be eased out from behind using a soft mallet and a flat block, working slowly from the edges of the dent inward. For panels you can remove, lay them face-down on a padded surface to tap the dent flat. Deep creases or torn metal are usually better replaced with a matching pressed panel. If the dent sits near a light fitting, switch the circuit off at the switchboard before you touch anything.
When should a pressed metal ceiling be restored by a professional?
Call in a professional if panels are heavily corroded, if the ceiling is sagging or pulling away from the joists, or if the metal is cracking around fixings. Heritage-listed homes may have approval requirements before work changes their appearance, so check with the relevant heritage authority. For wiring, light fittings and anything involving the electrical circuit, use a licensed electrician rather than working around live cables yourself.
What pressed metal ceiling restoration tools do I need to get started?
A basic kit includes a stiff brush, sandpaper in a few grits, a scraper, a soft mallet, a flat block, a measuring tape, a pencil, a drill with bits suited to metal, screws or clouts, rust converter, primer, ceiling paint, brushes and rollers, drop sheets and personal protection such as gloves, safety glasses and a dust mask. For heavier panels you may also need temporary props and a helper to hold panels while you fix them.